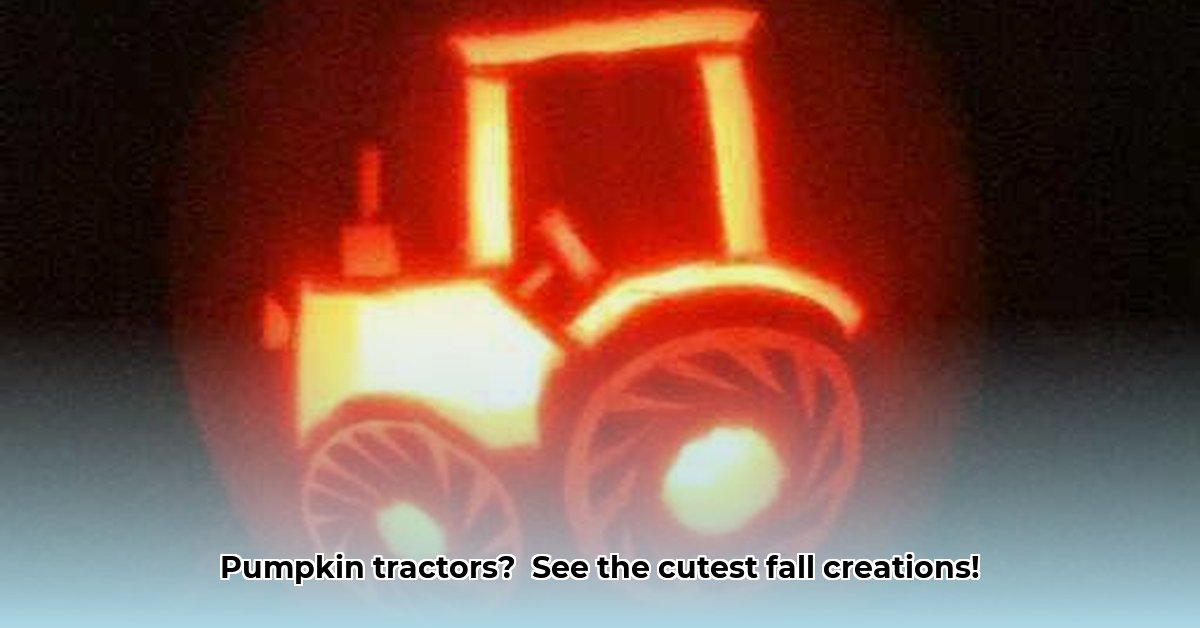
Let's create some awesome pumpkin tractors this autumn! Forget those same-old jack-o'-lanterns; we're carving something truly unique and memorable. Get ready for some fall fun! For extra inspiration, check out these antique tractor designs.
Picking the Perfect Pumpkin
Choosing the right pumpkin is key to a successful carving. Size matters – a larger pumpkin offers more space for detail, but a smaller one is easier to manage. Look for a firm pumpkin free from bruises or soft spots. It should feel solid and heavy for its size. Consider the shape too; a slightly oblong pumpkin might be perfect for a long, sleek tractor, while a round one works well for a more compact design. Did you know that certain pumpkin varieties hold their shape better than others after carving? This is a detail often overlooked!
Gathering Your Gear: Tools and Materials
Before you begin, gather your tools. This will make the carving process smoother and more enjoyable. You'll need:
- A sturdy pumpkin: Size and shape depend on your design.
- Carving tools: A sharp knife (different sizes are helpful), a sturdy scoop for cleaning the inside, and possibly smaller tools for details (like an awl for tiny holes).
- Design template (optional): Printable tractor stencils are readily available online, or unleash your creativity with a freehand design.
- Pencil or marker: For transferring your design.
- Ruler or measuring tape: Useful for larger, more detailed designs to ensure proportions.
- Optional: Reference Image: A picture or toy tractor can inspire your design.
- LED candle (recommended): For safe illumination. Avoid traditional candles due to fire hazards.
- Optional: Decorative elements: Craft glue, acrylic paints, glitter—add some extra flair!
Design Ideas: Simple to Spectacular
Now for the fun part: designing your pumpkin tractor! Beginners, start with a simple stencil – plenty are available online. For more experienced carvers, freehand carving offers endless possibilities. Think about adding details like wheels, a plow, or even a tiny trailer! Have you considered incorporating seasonal elements, like scarecrows or corn stalks, into your design?
Carving Your Pumpkin Tractor: A Step-by-Step Guide
Let's carve! Follow these steps for a successful project.
Pumpkin Prep: Clean your pumpkin thoroughly. Carefully cut a hole on top (or side) for access. Use a sharp knife and a sawing motion for cleaner cuts. Scoop out the seeds and pulp using a sturdy spoon or ice cream scoop.
Design Transfer: Carefully transfer your design. If using a stencil, tape it securely or trace it lightly. For freehand designs, sketch directly onto the pumpkin. Take your time; accuracy is key.
The Carving Process: Begin with larger areas, using a sawing motion for cleaner cuts. As you move to smaller details, switch to smaller tools. Remember, slow and steady wins the race! For deep cuts, consider pre-drilling small holes, especially near the edges.
Finishing Touches: Once carved, admire your work! Add those finishing touches – paint, glitter, etc. Let your creativity flow! Did you know that using a small paintbrush can add surprisingly realistic texture?
Illumination: Place your LED candle inside. Enjoy the warm glow!
Safety First!
Always use caution with sharp tools. Adult supervision is crucial, particularly with children involved. Consider wearing safety glasses to protect your eyes. According to the American Academy of Ophthalmology, eye injuries are a serious concern during pumpkin carving.
Troubleshooting: Common Issues and Solutions
Don't worry about challenges – they're normal!
- Pumpkin too thick: Use a sturdy knife and take your time. Steady pressure and small cuts will prevail.
- Carving too shallow/deep: Adjust the angle and depth of your cuts. Practice on a less important area first.
- Design flaws: Don't fret! These often add character. A little creative problem-solving can transform a mishap into a unique detail.
Displaying and Preserving Your Masterpiece
Find the perfect spot to display your pumpkin tractor! To extend its lifespan, limit exposure to direct sunlight and extreme temperatures. A cool, dry location is ideal.
Show Off Your Creations!
Share pictures of your pumpkin tractors with us! Let's inspire each other!